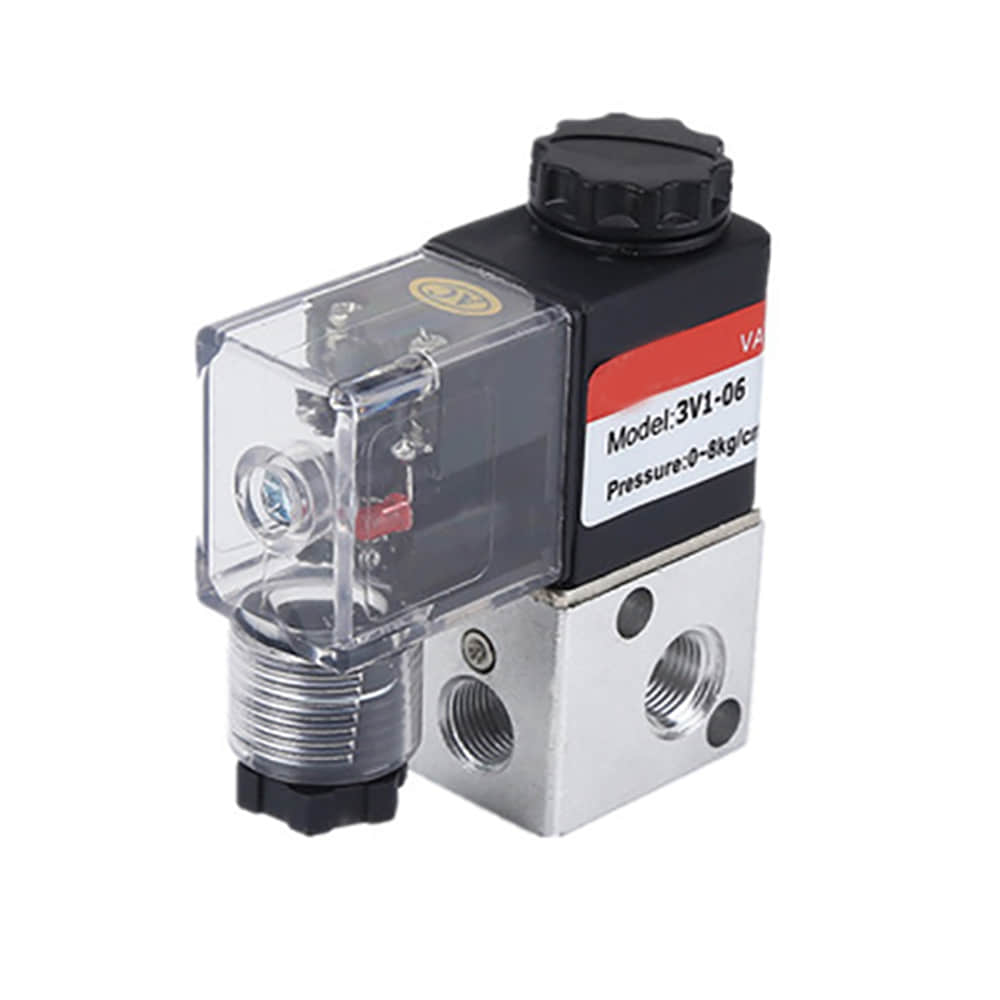
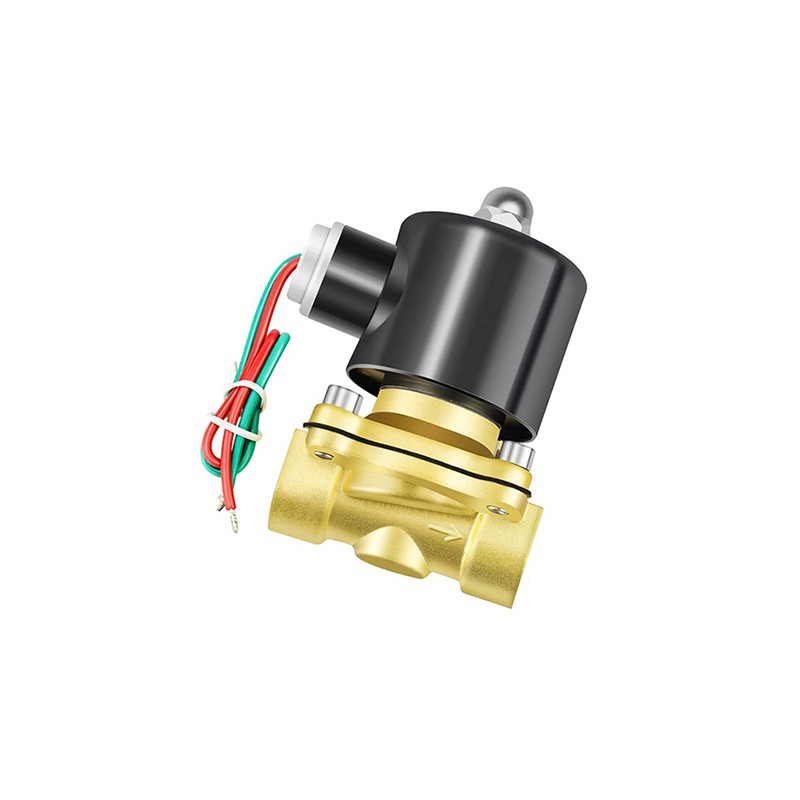
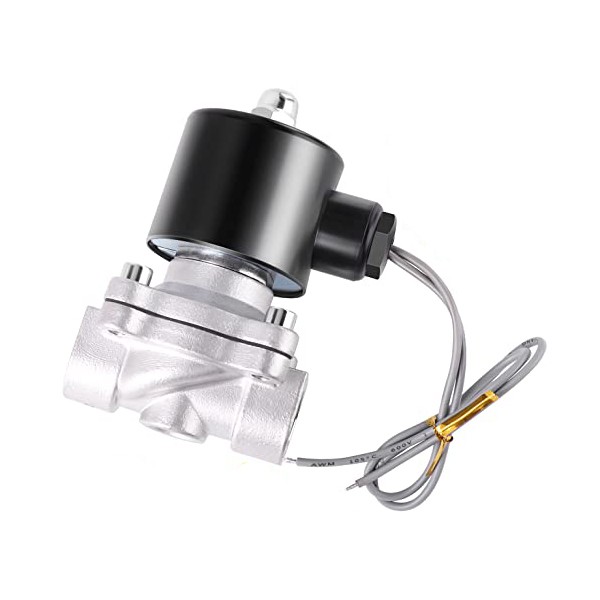
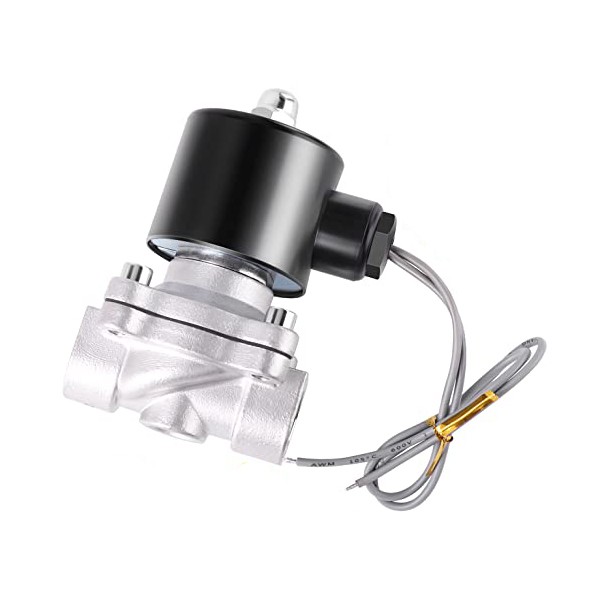
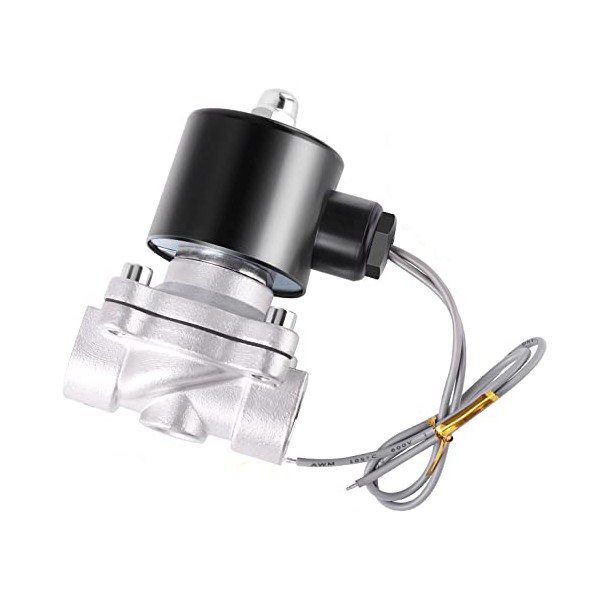
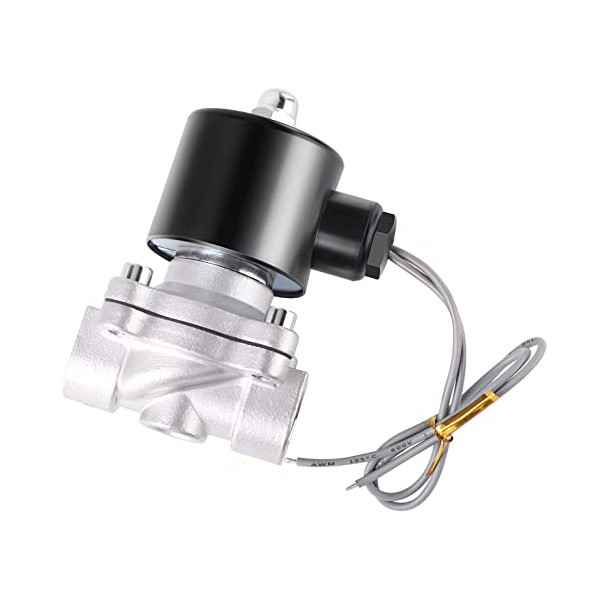
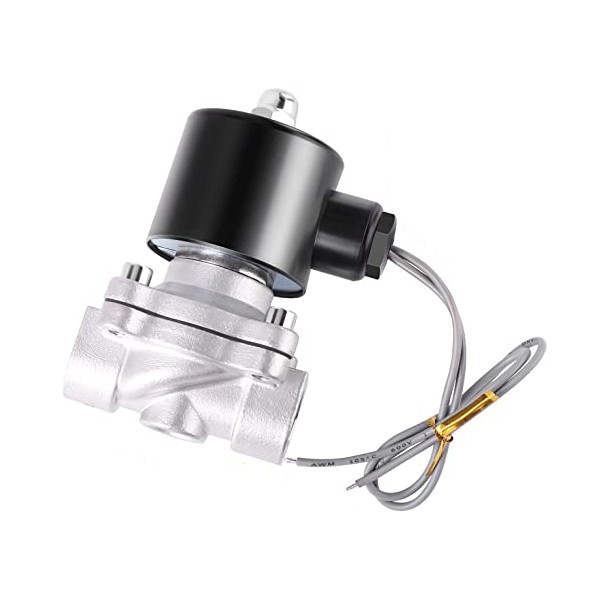
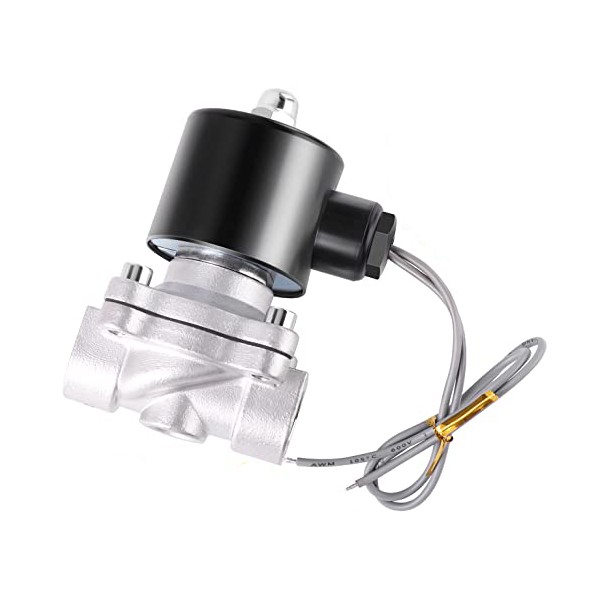
Solenoid Valve(Water/Air/Oil )
What is a solenoid valve?
Solenoid valves, whether they be hydraulic or water variants, present themselves as enigmatic entities within the fluid control realm. These contrivances hold the capacity to regulate the fluid flow with precision, rendering them indispensable across various sectors, including the textile, chemical, mineral, electric power, and papermaking industries.
Delving into the Complexities of Hydraulic Solenoid Valves
Hydraulic solenoid valves, intricate in their design, cater to the requisites of hydraulic systems. They manifest in a myriad of configurations, tailored to accommodate diverse pressures and flow rates. Their presence is indispensable in scenarios necessitating the meticulous management of hydraulic fluids.
Navigating the Landscape of Water Solenoid Valves
Water solenoid valves, on the contrary, find their niche in water-centric applications. Whether engaged in the domain of plumbing or irrigation, these valves oversee the seamless flow of water. Available in sundry sizes and materials, they exhibit versatility in diverse water-based systems.
An Insight into Hydraulic Solenoid Valves
At the core, solenoid valves are electromechanical devices capable of controlling the flow of fluids. They are activated by an electromagnetic coil, which, when energized, generates a magnetic field. This magnetic field exerts force on a plunger or a diaphragm, allowing or obstructing the flow of fluid through the valve.
The Operational Magic
Solenoid valves function on the principle of electromagnetic attraction. When an electric current flows through the coil, it transforms the valve's state. In the case of a hydraulic solenoid valve, this transformation regulates the flow of hydraulic fluid. For a water solenoid valve, the process governs the flow of water.
How to clean purge solenoid valve?
Cleaning a purge solenoid valve is a crucial maintenance task to ensure its proper functioning. Here are the steps to clean a purge solenoid valve
Safety Precautions:
Turn off the power source or disconnect any electrical connections to the solenoid valve to prevent accidental activation during cleaning.
Wear appropriate safety gear, including gloves and safety glasses, to protect yourself from any residual fluids and cleaning agents.
Isolate the Valve:
Depending on your system, you may need to shut off the fluid supply or depressurize the system to ensure the valve is isolated and not under any pressure.
Remove the Solenoid Valve:
If possible, remove the solenoid valve from the system. This may involve disconnecting any inlet and outlet connections or removing mounting brackets.
Inspect for Debris:
Examine the valve for any visible debris, dirt, or contaminants. Use a flashlight if necessary to get a clear view of the valve internals.
Disassemble the Valve (if applicable):
Some solenoid valves can be disassembled for thorough cleaning. Check the manufacturer's instructions to see if your valve can be taken apart.
Cleaning Solution:
Prepare a suitable cleaning solution. Typically, a mild detergent or solvent is used. Ensure the cleaning solution is compatible with the materials of the valve.
Cleaning Process:
Use a soft brush, cotton swab, or a lint-free cloth soaked in the cleaning solution to gently clean the valve components.
Pay particular attention to the valve seat, seals, and any movable parts. Remove any stubborn contaminants carefully.
Rinse and Dry:
After cleaning, rinse the valve thoroughly with clean, distilled water or an appropriate solvent to remove any residue from the cleaning solution.
Allow the valve to air dry completely. Ensure there is no remaining moisture before reassembly.
Reassemble and Reinstall:
If you disassembled the valve, reassemble it carefully, following the manufacturer's instructions.
Reinstall the solenoid valve back into the system, making sure all connections are secure.
Test Operation:
Restore power to the solenoid valve and test its operation to ensure it opens and closes correctly. Check for any leaks or irregularities.
System Startup:
Turn on the fluid supply or pressurize the system according to your standard startup procedure.
Regular Maintenance:
Schedule regular maintenance intervals to prevent future buildup of contaminants and ensure the continued performance of the purge solenoid valve.
How does a solenoid valve work?
A solenoid valve is an electromechanical device used to control the flow of fluids, such as liquids or gases, through a system. It works by utilizing the principles of electromagnetism to open or close a valve, thereby regulating the flow of the fluid. Here's a step-by-step explanation of how a solenoid valve operates:
-
Basic Components:
- A solenoid valve consists of several essential components, including a solenoid coil, a plunger or armature, a valve body, an inlet port, and an outlet port.
-
Solenoid Coil:
- The core of a solenoid valve is the solenoid coil. It is typically made of copper wire wound into a coil shape. When an electrical current is applied to the coil, it generates a magnetic field around it.
-
Plunger or Armature:
- Inside the solenoid coil, there is a movable plunger or armature, often made of ferrous material like iron or steel. The plunger is positioned at the center of the coil.
-
Valve Body:
- The valve body is the housing that contains the inlet and outlet ports through which the fluid flows. It also houses the sealing mechanism that controls the flow of fluid.
-
Inlet and Outlet Ports:
- The inlet port is where the fluid enters the valve, and the outlet port is where the fluid exits the valve. The flow of fluid is controlled by the position of the plunger within the valve body.
-
Valve Seating:
- Inside the valve body, there is a valve seating or seat. This seat is designed to seal the flow of fluid when the valve is in a closed position.
Now, let's understand how a solenoid valve functions:
Closed Position:
- When there is no electrical current applied to the solenoid coil, the coil remains unenergized, and there is no magnetic field generated.
- In this unenergized state, the plunger or armature is in its default position, often referred to as the "rest" or "closed" position.
- In the closed position, the plunger presses against the valve seating, creating a seal that prevents the flow of fluid from the inlet port to the outlet port. The valve is effectively closed.
Open Position:
- To open the solenoid valve, an electrical current is applied to the solenoid coil. This current energizes the coil, creating a magnetic field around it.
- The magnetic field exerts a force on the plunger or armature, causing it to move towards the coil.
- As the plunger moves, it lifts away from the valve seating, allowing the fluid to flow freely from the inlet port to the outlet port.
- The valve is now in its "open" position, and fluid can pass through it.
Controlled Flow:
- The degree to which the solenoid valve opens can be controlled by adjusting the electrical current applied to the solenoid coil. This control allows for precise regulation of fluid flow.
Closing the Valve:
- To close the solenoid valve, the electrical current to the coil is turned off. Without the magnetic force, the plunger returns to its default position, pressing against the valve seating and blocking the fluid flow.
- The valve is now back in its "closed" position, and fluid flow is halted.
How to fix a stuck solenoid valve?
Fixing a stuck solenoid valve is an important maintenance task to ensure the proper functioning of the valve. A stuck valve can disrupt fluid flow and cause operational issues. Here are the steps to fix a stuck solenoid valve:
Note: Before you begin, ensure you have the necessary tools and safety equipment, and always follow any specific guidelines provided by the manufacturer of your solenoid valve.
-
Safety Precautions:
- Turn off the power source or disconnect any electrical connections to the solenoid valve to prevent accidental activation during the repair.
- Wear appropriate safety gear, including gloves and safety glasses, to protect yourself from any residual fluids and cleaning agents.
-
Isolate the Valve:
- Depending on your system, you may need to shut off the fluid supply or depressurize the system to ensure the valve is isolated and not under any pressure.
-
Identify the Issue:
- Determine whether the solenoid valve is stuck in the open or closed position. This will guide your troubleshooting efforts.
-
Tap the Valve:
- Gently tap the solenoid valve housing with a non-metallic object like a rubber mallet or a wooden block. This can sometimes dislodge debris or particles that are causing the valve to stick.
-
Apply Voltage Briefly:
- If the valve is stuck in the closed position, briefly apply voltage to the solenoid coil to attempt to open it. Sometimes a momentary burst of power can overcome the obstruction.
- If the valve is stuck in the open position, briefly disconnect power to the solenoid coil to allow it to close. Again, this may dislodge any debris causing the issue.
-
Cleaning:
- If tapping and applying voltage do not resolve the issue, you may need to disassemble the valve for cleaning. Refer to the manufacturer's instructions for disassembly procedures.
- Clean the valve components, including the plunger, valve seat, and other internal parts, using an appropriate cleaning solution or solvent. Ensure all debris and contaminants are removed.
- Inspect the valve seat for any damage or wear that may be causing the sticking issue.
-
Reassemble and Test:
- Reassemble the solenoid valve carefully, following the manufacturer's instructions.
- Reinstall the valve back into the system and reconnect any electrical connections.
- Test the valve's operation to ensure it opens and closes correctly. Check for any leaks or irregularities.
-
System Startup:
- Turn on the fluid supply or pressurize the system according to your standard startup procedure.
-
Regular Maintenance:
- Schedule regular maintenance intervals to prevent future buildup of contaminants and ensure the continued performance of the solenoid valve.
How to replace solenoid valve?
Replacing a solenoid valve is a straightforward process if you follow the correct steps. Here's a guide on how to replace a solenoid valve:
-
Safety Precautions:
- Always prioritize safety. Wear appropriate protective gear such as gloves and safety glasses.
- Ensure that electrical power to the solenoid valve is turned off to prevent any accidental activation.
-
Identify the Old Valve:
- Locate the existing solenoid valve within your system. Note its position and how it's connected to the system.
-
Disconnect Electrical Connections:
- If your solenoid valve is electrically operated, disconnect any electrical connections to the valve. This may involve removing wires or connectors.
-
Disconnect Fluid Connections:
- Depending on your system, there may be fluid pipes or hoses connected to the solenoid valve. Carefully disconnect these connections. Be prepared for any residual fluid to drain out.
-
Remove Mounting Hardware:
- Solenoid valves are often mounted onto brackets or other fixtures. Remove any mounting hardware securing the old valve to its position.
-
Remove the Old Valve:
- Gently pull or slide the old solenoid valve out of its mounting position. Be cautious not to damage any surrounding components.
-
Prepare the New Valve:
- Inspect the new solenoid valve to ensure it matches the specifications of the old one. Confirm that the electrical and fluid connections are in the correct locations.
-
Mount the New Valve:
- Carefully position the new solenoid valve into the same location from which you removed the old one. Ensure it's securely in place.
-
Reconnect Fluid Connections:
- Reattach the fluid pipes or hoses to the new solenoid valve. Use appropriate fittings and seals to prevent leaks.
-
Reconnect Electrical Connections:
- Reconnect any electrical wires or connectors to the new valve. Ensure that the connections are secure and properly insulated.
-
Secure Mounting Hardware:
- Use the appropriate hardware to secure the new solenoid valve in its mounting position. Double-check that it's firmly in place.
-
Test the New Valve:
- Turn on the power supply and test the new solenoid valve's operation. Verify that it opens and closes correctly as needed for your system.
-
Check for Leaks:
- Inspect all fluid connections for any signs of leakage. If you notice any leaks, immediately shut off the fluid supply and address the issue.
-
System Startup:
- Once you're satisfied with the installation and the new solenoid valve's performance, you can turn on the fluid supply and resume normal system operation.
-
Document the Replacement:
- Keep a record of the replacement, including the date, serial number of the new valve, and any relevant details. This documentation can be useful for future maintenance.


