Swing Cylinder


What is swing cylinder?
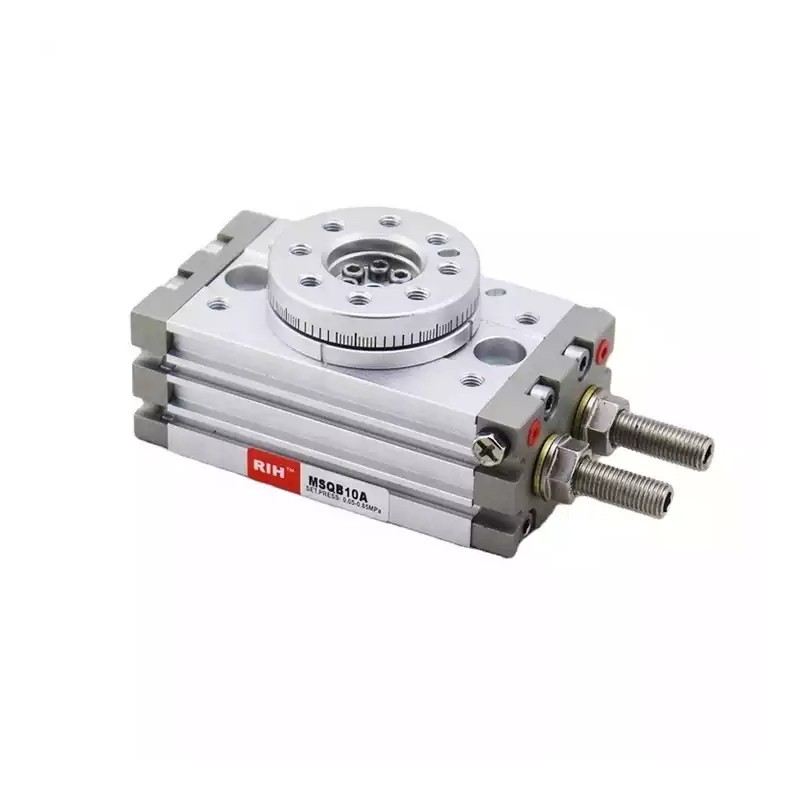
A swing cylinder, also known as a rotary cylinder or a pneumatic rotary actuator, is a type of pneumatic actuator that converts compressed air energy into rotary motion. Unlike linear cylinders that provide straight-line motion, swing cylinders deliver angular movement. This makes them particularly useful in applications where space constraints prohibit the use of a standard linear cylinder, or where rotational movement is required.
How does swing cylinder work?
Swing cylinders operate based on the following principles:
- Air Pressure Application: Compressed air is fed into the cylinder, creating pressure that moves a piston.
- Conversion to Rotary Motion: The motion of the piston is converted into rotary motion. This is typically achieved through a rack and pinion mechanism inside the cylinder. The linear motion of the rack (driven by the piston) turns the pinion, which is attached to an output shaft, thus creating rotation.
- Controlled Rotation: The degree of rotation (angle) can be controlled by the design of the mechanism, commonly ranging from 90 degrees to 270 degrees or more.
Backhoe swing cylinder removal
Removing a swing cylinder from a backhoe involves a series of steps that must be followed carefully to ensure safety and avoid damage to the machine. The swing cylinder in a backhoe is responsible for allowing the entire backhoe arm (including the boom, stick, and bucket) to swing left or right. Here’s a step-by-step guide to removing a swing cylinder from a backhoe:
Step 1: Prepare the Area and Machine
- Safety First: Ensure the machine is off, keys removed, and the equipment is on stable ground.
- Position the Equipment: Position the backhoe’s arm and attachments in a stable and neutral position, ideally with support stands or blocks to prevent movement during the repair.
Step 2: Relieve Hydraulic Pressure
- Bleed the Pressure: Before disconnecting any hydraulic lines, make sure to relieve the hydraulic pressure to prevent fluid spray or sudden movement of hydraulic components.
Step 3: Disconnect Hydraulic Lines
- Catch Fluids: Place a basin under the cylinder to catch any leaking hydraulic fluid as you disconnect the lines.
- Disconnect Lines: Use the appropriate wrench to loosen and disconnect the hydraulic lines from the swing cylinder. Cap the lines and the cylinder ports to prevent contamination.
Step 4: Remove Mounting Pins or Bolts
- Access the Pins/Bolts: Locate the pins or bolts that secure the swing cylinder to the frame and the swing mechanism.
- Remove Hardware: Use the appropriate tools to remove the mounting pins or bolts. You might need a hammer and punch to drive out pins if they are tight or corroded.
Step 5: Remove the Cylinder
- Manual Removal: Depending on the size and position, you may need assistance to support the cylinder as it is detached.
- Carefully Detach: Gently remove the cylinder from its mount, being careful not to damage any seals or the rod surface.
Step 6: Inspect and Clean
- Inspect the Cylinder: Once removed, inspect the swing cylinder for any signs of wear, damage, or leaks. Decide if it needs repair or replacement.
- Clean the Area: Clean any debris and spilled fluids from the work area and the cylinder mount points on the backhoe.
Step 7: Prepare for Reinstallation or Replacement
- Replace Seals or Cylinder: If you are reinstalling the same cylinder, consider replacing the seals before reinstallation. If replacing the cylinder, ensure the new one matches the specifications of the original.
Swing cylinder repair
Repairing a swing cylinder involves several steps, primarily focused on troubleshooting the issues, disassembling the cylinder, replacing worn or damaged components, and reassembling the unit. Here’s a comprehensive guide to repairing a swing cylinder, commonly found in backhoes and other hydraulic machinery:
Step 1: Diagnose the Problem
- Identify Symptoms: Common signs of a malfunctioning swing cylinder include leaks, reduced movement efficiency, strange noises during operation, or complete failure to actuate.
- Inspect Visually: Check for visible signs of wear, damage, or leakage around the seals and cylinder body.
Step 2: Disassemble the Cylinder
- Relieve Pressure: Ensure all hydraulic pressure is relieved from the system to prevent accidents.
- Remove the Cylinder: Follow the steps outlined in my previous response for safely removing the swing cylinder from the machine.
- Disassemble the Unit: Carefully take apart the cylinder. This typically involves removing the end caps, extracting the piston from the cylinder tube, and sliding out the piston rod.
Step 3: Inspect All Components
- Examine Each Part: Look for signs of wear, scoring, or corrosion on the piston, rod, cylinder bore, seals, and bearings.
- Measure and Compare: Use calipers or a micrometer to measure the wear on the piston and rod, comparing them against manufacturer specifications.
Step 4: Replace Damaged Parts
- Order Replacement Parts: Obtain any necessary replacement parts specific to your model. This may include seals, the piston, the rod, or even the entire cylinder barrel.
- Install New Seals and Gaskets: Always replace the seals and gaskets during a cylinder repair to ensure a tight fit and prevent leaks.
Step 5: Reassemble the Cylinder
- Clean All Parts: Thoroughly clean all components with appropriate solvents and dry them before reassembly.
- Assemble the Cylinder: Reverse the disassembly process to put the cylinder back together. Ensure all parts fit smoothly and securely.
- Lubricate: Apply hydraulic fluid to the seals and the inside of the cylinder barrel to facilitate reassembly and operation.
Step 6: Reinstall the Cylinder
- Mount the Cylinder Back: Secure the swing cylinder back onto the machine, reconnecting all hydraulic lines and ensuring all fittings are tight.
- Reconnect Hydraulic Lines: Ensure all hydraulic connections are secure and leak-free.
Step 7: Test the Repaired Cylinder
- Refill Hydraulic Fluid: Top up the hydraulic system if necessary.
- Run the Machine: Activate the swing function to test the repaired cylinder. Watch for smooth operation and check for leaks.
- Adjust as Necessary: If the cylinder does not operate smoothly or leaks, additional adjustments or replacements may be necessary.